7.10. Building GUIs#
7.10.1. Introduction#
Why Use a GUI?
A Graphical User Interface (GUI) makes interacting with programs easier and more intuitive by providing graphical elements such as buttons, text boxes, and file dialogs. While command-line programs are efficient, they may not be user-friendly for everyone. GUIs provide a visual way for users to interact with applications, making them more accessible for a wider audience.
GUIs are useful in physics applications for tasks like:
Importing and visualizing data from experiments.
Providing control panels for simulations.
Allowing users to tweak parameters without modifying code.
In this tutorial, we will guide you through the process of building a simple GUI using Python’s Tkinter library. By the end, you will have built a program that allows you to import and plot data, which can be useful for data analysis and visualization in physics.
7.10.2. Getting Started: Importing Tkinter#
To start we need to import a libraby called Tkinter. After doing this we need to create a main application window. If you want any help or look at an example of Tkinter, take a look at the official tutorial of Tkinter library https://tkdocs.com/tutorial/firstexample.html .
# Import the required libraries
import tkinter as tk
Now create a main application window with the Tk command and give it a title with title
# Create a window
root = tk.Tk()

# Set window title
root.title("Simple Tkinter GUI")
''
What is left to do, is to give it a certain size and run it!
# Set window size
root.geometry("400x300")

# Run the application
root.mainloop()
As you can see it opens an external window and the cell keeps running until you close this window
7.10.7. Final Exercise: Building a Data Import and Plotting GUI#
Now let’s combine everything, this is more difficult than the previous exercises and will take more effort to copmlete this. We will also introduce another python package here which is very usefull called pandas. This package has many functions built in to import, read and export data files of different types. In this case a simple csv file with data on x and y can be downloaded here.
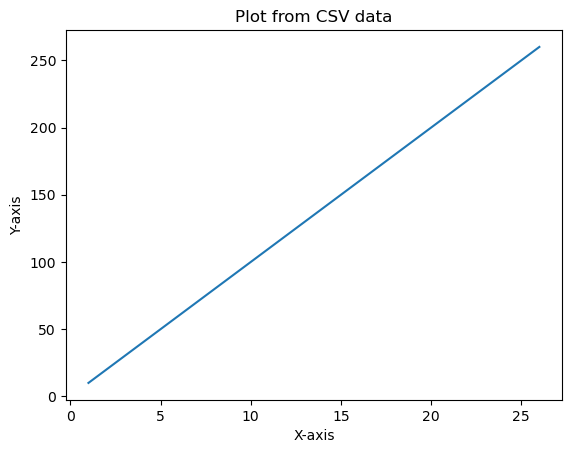
We will build a GUI that allows users to import a CSV file and plot its data using matplotlib. First make a function where you use the previous command filedialog.askopenfilename and then read a file with pandas. Google how to use pandas, and finally in this function also include a few statements to make a correct figure with labels etcetera.
import pandas as pd
import matplotlib.pyplot as plt

# Function to open file dialog and import a CSV file
def import_and_plot():
    file_path = filedialog.askopenfilename(filetypes=[("CSV Files", "*.csv")])
    if file_path:
        data = pd.read_csv(file_path,delimiter = ';')
        # Assuming the file has two columns: x and y
        plt.plot(data['x'], data['y'])
        plt.xlabel('X-axis')
        plt.ylabel('Y-axis')
        plt.title('Plot from CSV data')
        plt.show()

# Create the GUI window
root = tk.Tk()
root.title("Data Import and Plot")
root.geometry("400x300")

# Create a button to import and plot data
plot_button = tk.Button(root, text="Import CSV and Plot", command=import_and_plot)
plot_button.place(x=130, y=130)

# Run the application
root.mainloop()
7.10.8. Conclusion#
In this tutorial, we introduced the concept of building GUIs using Python and Tkinter. You’ve learned how to:
Create a basic GUI window.
Add buttons and other interactive elements.
Handle file imports.
Visualize imported data using plotting tools like
matplotlib.
With these basic skills, you can now start building more complex applications tailored to your needs, such as creating control panels for simulations or visualizing experimental data in physics.