7.3. Software#
Python is an interpreter programming language and thus needs an interpreter (some software). For programming it is always useful to have some software that helps you in writing code and running it. For this course we recommend you to install Mini-Conda, but provide instructions for other software as well.
7.3.1. VSC#
A popular code editor is Visual Studio Code. It allows you to program in different languages, where it recognizes the commands in that language and adjusts the FONT so that it becomes better readable. Moreover, it allows you to install various packages (such as Jupyter Notebook). It also integrates GIT and allows to code using Co-Pilot, an AI pair programmer. We advise to use VSC as it allows for multiple programming languages.
7.3.1.1. Terminal#
The terminal in Visual Studio Code (VSC) is a tool that lets you interact with your computer’s command line directly within the editor. It’s used to run commands, scripts, or programs without leaving the coding environment. For example, you can compile code, run a development server, install dependencies, or manage files. It’s very helpful for developers because it allows you to code and execute commands in one place, streamlining your workflow.
7.3.1.2. Install packages#
If you’re working with Python, you can install packages using pip. For example, to install the requests library, run:
pip install requirements
requirements here refers to the packages that you want to install.
Note
On MAC’s you probably need the pip3 pipline. Hence, the code will be:
pip3 install requirements
For the data-analysis you at least need to install the following packages:
numpy
matplotlib
scipy
Exercise 7.1
Install these packages using:
pip install matplotlib numpy scipy
7.3.1.3. Extensions#
Extensions in Visual Studio Code (VSC) are powerful add-ons that enhance the functionality of the editor by providing additional features, tools, and support for various programming languages, frameworks, and technologies. Extensions allow you to customize and tailor VSC to suit your specific development needs.
7.3.1.3.1. How to Install Extensions:#
Access Extensions View:
Click on the Extensions icon in the Activity Bar on the side (or press Ctrl+Shift+X / Cmd+Shift+X).
Search for Extensions:
In the Extensions view, you can search for the name or keywords related to the extension you want to install.
Install the Extension:
Click the Install button on the desired extension, and it will automatically be added to VSC.
Manage Installed Extensions:
You can view, enable, disable, or uninstall extensions from the same Extensions view.
7.3.1.3.2. Popular Extensions in VSC:#
Python: Provides linting, debugging, IntelliSense, and more for Python development.
Jupyter: Provides support for Jupyter notebooks within VSC.
Arduino: Provides support for programming in Arduino.
Code Spell Checker: Has a great spelling checker, also available for Dutch
Github Copilot: Your AI pair programmer. Helps you in writing code.
LaTeX workshop: LaTeX coding, preview, compiling.
MyST-Markdown: The official Markdown syntax extension
7.3.2. Anaconda & MiniConda#
Anaconda and Miniconda are both distributions of the Python and R programming languages, primarily aimed at simplifying package management and deployment for data science, machine learning, and scientific computing. The main difference between these distributions is the amount of disk space required (~4GB for Anaconda, 50 MB for Miniconda). Where Anaconda has already installed all main packages for you, you control with Miniconda precisely what you want to install. Hence, Miniconda is a minimal installer for the Anaconda distribution. It only includes the conda package manager (to install packages) and Python, along with their dependencies. It does not come with any pre-installed packages except for these essentials. That also means that it lacks a graphical user interface which is available with Anaconda.
7.3.2.1. Install Anaconda#
If you want to install Anaconda, see their website. Once installed, you can open Anaconda and choose your interactive development environments (IDE), the interface in which you will write your code. We most often use Jupyter Notebook or Jupyter Lab.
7.3.2.2. Install Miniconda#
We recommend, however, to install Miniconda since it gives you a better idea how your computer works, have more control of what is being installed and takes far less disk space. To install Miniconda, download and run the .exe file as described on their website
Warning
There are multiple download options at the site of conda. Be sure you download miniconda. Furthermore, wait with continuing the instructions below until the miniconda is fully installed.
Once installed, open the anaconda prompt. This opens a terminal (a text-based interface used to interact with the operating system by executing commands, scripts, or programs). To check whether the installation is correct and which version is installed, type:
conda --version
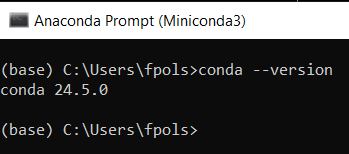
and press enter, the terminal will return the conda version.
Since you installed the minimal installation, we need to install the IDE’s we want and the packages that we need. We, at least, need Jupyter, numpy, matplotlib and scipy. A popular library that might come in handy is Pandas.
To install the IDE Jupyter and Jupyter lab, run the commands:
conda install anaconda::jupyter

conda install -c conda-forge jupyterlab
For the packages, run the commands:
conda install conda-forge::matplotlib

conda install conda-forge::numpy

conda install scipy

conda install conda-forge::pandas
or with a single sentence:
conda install conda-forge::matplotlib conda-forge::numpy conda-forge::scipy conda-forge::pandas
conda-forge
conda-forge:: specifies the source from which the packages are installed. It specifies that the packages should be installed from the conda-forge channel, which is a community-driven channel that provides a large collection of packages for conda.
Note that we did not install all packages. You will regularly come across packages that needs to be installed, with the information above and the information provided by the Python community, you will manage to install these interdependencies.
Using the command line
Normally we navigate through our folders by using a graphic interface and clicking through the folders. However, there is another way to navigate through your folders, namely using the command line as we are doing with Anaconda prompt.
When you run the command dir it returns the folders and files in the folder you are currently in. You can go to another folder by running the command cd NAMEFOLDER. If you want to move to a higher folder, run the command cd ..
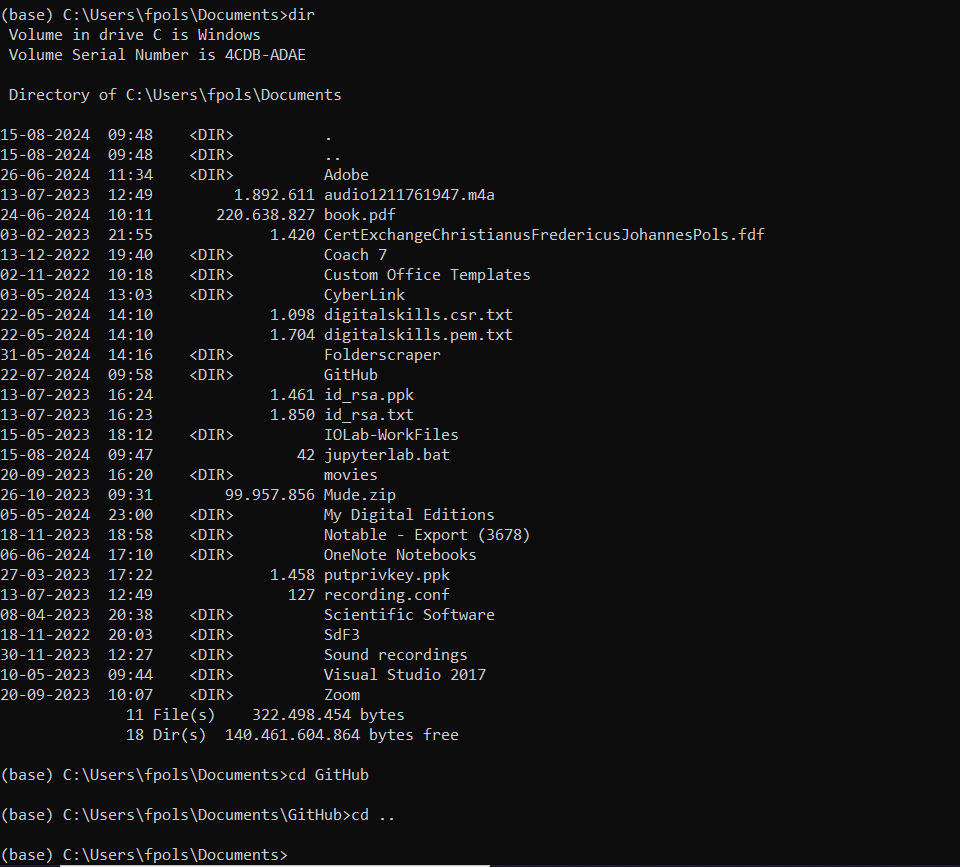
Fig. 7.2 Moving through your folder with the command line#
7.3.2.3. Jupyter Notebook and Jupyter Lab#
In this course we make use of .ipynb files which are Jupyter Notebooks. To run these notebooks we can use IDE’s as Jupyter Notebook or Jupyter Lab. Jupyter Notebook is a web-based interface that allows users to create and share documents with live code, visualizations, and narrative text in a linear format. JupyterLab, on the other hand, is a more advanced interface offering a flexible and modular environment with multiple panels, including notebooks, terminals, and text editors, providing a more versatile experience for interactive computing. I prefer to use Jupyter lab.
To start Jupyter lab, open the Anaconda terminal (Anaconda Prompt), move to the folder where you want to start Jupyter Lab in (where your files are located) and run the command jupyter lab in the terminal. A browser is started with which you can open your Notebooks, see Figure 7.3. Our first notebook tells you exactly how these notebooks work and how to develop and run code.
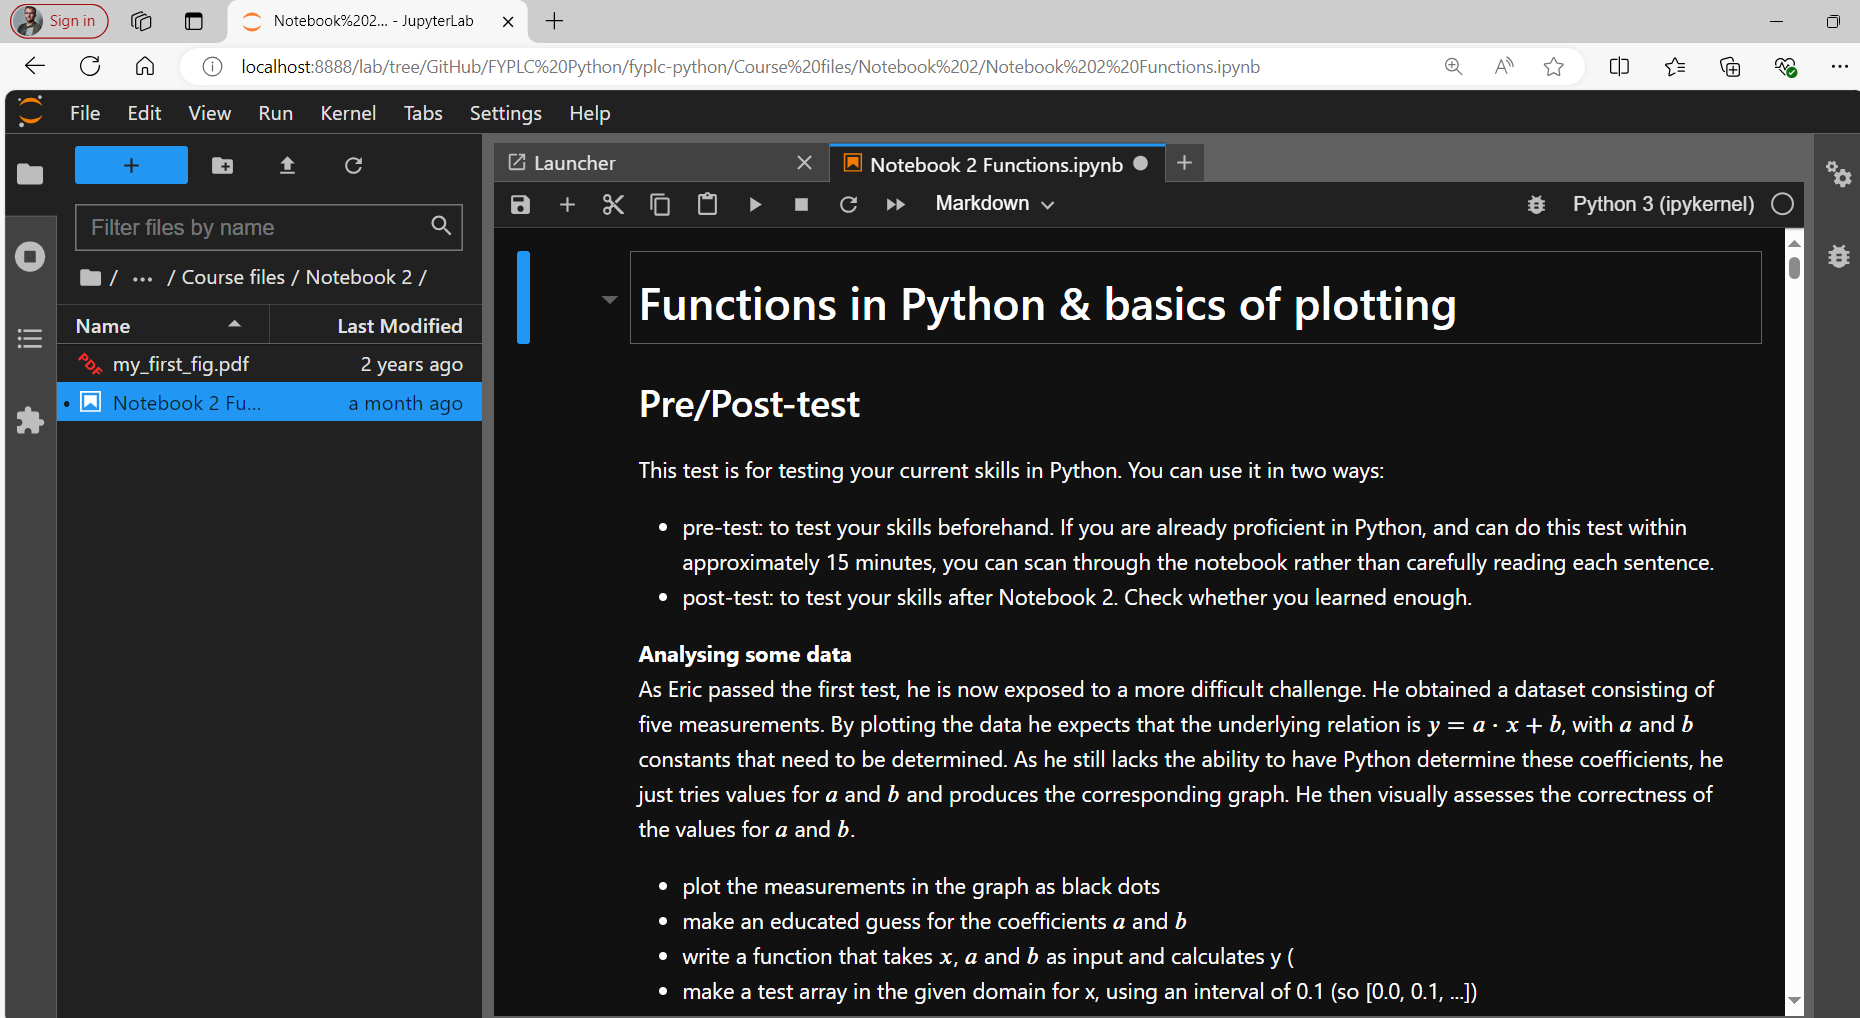
Fig. 7.3 The Jupyter lab IDE#
7.3.3. Git#
When writing code, especially larger projects, you want to keep track of your changes. Sometimes your code breaks and you want to go back to a previous version where all these troubles weren’t there yet. For this purpose we have version control software. Most popular is git. Git is a distributed version control system that tracks changes in code or files, allowing multiple developers to collaborate efficiently on a project. GitHub is a web-based platform that hosts Git repositories, providing tools for collaboration, code sharing, and version management, often used for open-source and team projects. Here we don’t go much deeper than this, but direct you to the manual of our colleagues at CiTG. You may want to check this out a bit later during your first year.
7.3.4. Vocareum#
We sometimes make use of Vocareum. Vocareum is a cloud-based platform designed for educational institutions to provide hands-on learning experiences, particularly in coding, data science, and cloud computing. It offers a virtual lab environment where students can complete assignments, receive automated feedback, and instructors can manage and grade coursework efficiently. We make use of Vocareum to grade your work and provide feedback.
If you want (online) help from the teaching assistants, you should upload your work to Vocareum. We can access your work, make changes and help you out. Moreover, you are to upload your exam(s) to Vocareum so that we can grade your work. Hence, get convenient with this platform.