03 Precession (4) AND Nutation (3)#
Aim#
To show the combination of nutation and precession.
To show (pseudo)regular precession.
Subjects#
1Q50 (Gyros)
Diagram#
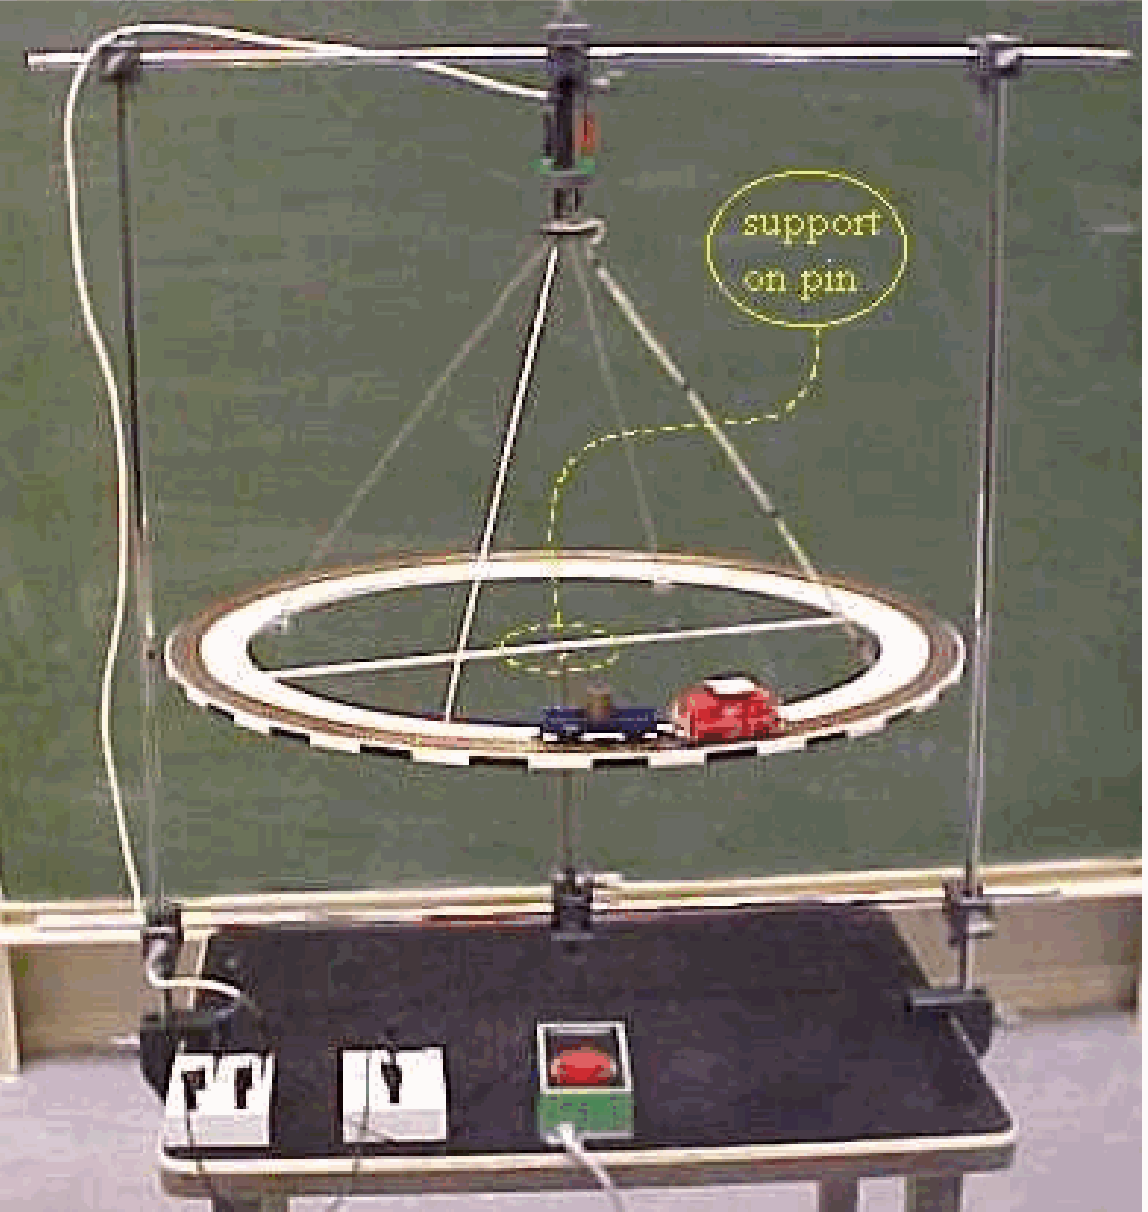
Fig. 249 .#
Equipment#
Demonstration gyroscope.
Thread, approximately \(1.5 \mathrm{~m}\) long, with a loop in the end.
Slotted mass (\(150 \mathrm{~g}\)).
Presentation#
The gyroscope has its base levelled and its counterweights adjusted until the gyroscope is balanced. The loop of thread is put around the pulley and pulled, to give the disk a high speed of rotation. Observe the direction of rotation and place the gyroscope-axis horizontal. The gyroscope is balanced in this situation.
Fig. 250 .#
Give by hand a sharp downward blow at the end of the gyroscope-axis. Now the axis moves conically around a fixed center (nutation). This center is a little to the right or to the left (depending on the direction of the disk’s rotation) of the initial starting position of the gyroscope-axis (see Figure 250-1; looking at the axes makes that the red figure is in reality a circle).
When this demonstration is repeated with a slower rotating gyroscope-disk, then it will be observed that the resulting nutation frequency is lower.
Restart the original horizontally balanced gyroscope rotation at a not too fast speed. While holding the rotation-axis in the horizontal position, the slotted mass is placed on the end of the axis. The gyroscope is released and shows now nutation and precession at the same time. The axis of rotation shows a cycloidic displacement (see Figure 250-2).
Restart the original horizontally balanced gyroscope at a not too fast speed. Place again the slotted mass and hold the axis in the horizontal position. Release the gyroscope and on releasing give it a slight push in the direction opposite to the precession. The cycloidic nutation-pattern will have loops now (see Figure 250-3).
Restart the original horizontally balanced gyroscope at a not too fast speed. Place again the slotted mass and hold the axis in the horizontal position. Release the gyroscope and on releasing give it a slight push in the direction of the precession. The sharply-pointed cycloidic pattern becomes more wave-like now (see Figure 250-4a).
The slight push in the direction of precession can be made that strong that the nutation (almost) disappears (see Figure 250-4b). This situation is called “regular precession”.
Explanation#
See Nutation 1 and Nutation 2.
Ad1. The frequency of nutation ( \(\omega_{n u}\) ) equals: \(\omega_{n u}=\frac{I_{z}}{\sqrt{I_{x} I_{y}}} \omega_{z}\)
So, \(\omega_{n u}\) is proportional to the rotational speed of the gyroscope
Ad2., 3., and 4. See Literature.
Adding a weight simulates (in an extreme way) the general situation of unbalanced massdistribution. For this reason all rotating real objects show nutation (for instance, the Earth).
Remarks#
Figure 250 contains data registered on the demonstration gyroscope by using two Rotary Motion sensors (PASCO CI-6538) in combination with PASCO-software (Science Workshop).
When you are experienced, step 2 - 5 in the Presentation can be performed in one run of the gyroscope, provided the gyroscope is not slowing down too much. But remenber that the audience is not experienced and needs time to digest four different demonstrations! So , no need to hurry.
Sources#
Magnus, K., Kreisel, pag. 117
Phywe, University Laboratory Experiments, part Vol. 1-5, pag. 1.2.8.
Roest, R., Inleiding Mechanica, pag. 222-226